A garbage disposal that hums but will not turn is jammed. Sometimes the jam can be freed from underneath and the unit goes back into service; when the motor has seized solid it cannot be, and the disposal is replaced. A disposal that is dead and silent is usually the reset, the breaker or the receptacle behind it rather than the unit. A disposal leaking from the bottom of its body has a failed motor housing and no repair. Which one you have takes minutes to establish on site.
Why a garbage disposal hums but will not turn
The hum is the motor trying and failing against a locked grinding plate. Something has wedged between the impellers and the shredder ring, or the bearings have rusted and seized after years in a wet housing.
It is always worth an attempt at releasing it. A wrench in the hex socket underneath will rock a genuine jam loose, and a unit that frees up and runs cleanly afterwards is a unit that stays. But the outcome we record most often on these calls is that the disposal was seized solid and could not be freed. Units at seven to ten years old are usually at that point. We will make the attempt before recommending replacement, and we will tell you honestly which of the two we are looking at.
One thing to be clear about: never put a hand into the chamber, and never leave the switch in the on position while working on it. A jammed motor that suddenly frees itself with power on is how people get hurt.
Why a garbage disposal leaks, and which leaks mean replacement
Where the water appears tells you whether you are buying a part or a unit:
- At the sink flange, above the unit
- The drain flange or mounting ring at the top has loosened or lost its seal. That is a repair — the unit comes down, the flange is reseated and tightened properly, and it goes back. We have found disposals where a flange had simply been left completely loose by whoever fitted it, dripping the whole time.
- At the discharge tube or the dishwasher inlet
- A gasket or a slip joint. Straightforward to put right, and worth checking before anything else is condemned.
- From the bottom of the unit body
- The motor housing has failed and water is coming through the shell. There is no repair for that. On one call the disposal was leaking in two places at once — at the basket strainer and from the bottom of the body — which settled the question immediately.
- Under the unit, but from the piping
- A trap, tailpiece or coupling behind the disposal. We have found a Fernco coupling weeping where a drain entered a wall, with everyone convinced the disposal was the culprit.
Any of these will rot a cabinet base if it runs long enough. Where the wood under a disposal has been wet we dry it and treat it with mold control before the new unit goes in, and where the base has gone through, it gets replaced. A drip that turns out to be a stop rather than the unit is covered under sink repair and installation.
A garbage disposal that is completely dead
Silence is a different fault from a hum, and it is usually electrical rather than mechanical. We work through it in order:
- The reset button on the underside of the unit. An overload trips it, and it will not run until it is pushed back in.
- The breaker in the panel. Straightforward, and often overlooked.
- The switch and the receptacle. We have had a disposal where the switch would not work with the reset button pushed in, which pointed past the unit entirely. The order there was to inspect the breaker and then bring in an electrician to check the wall receptacle rather than keep replacing plumbing parts.
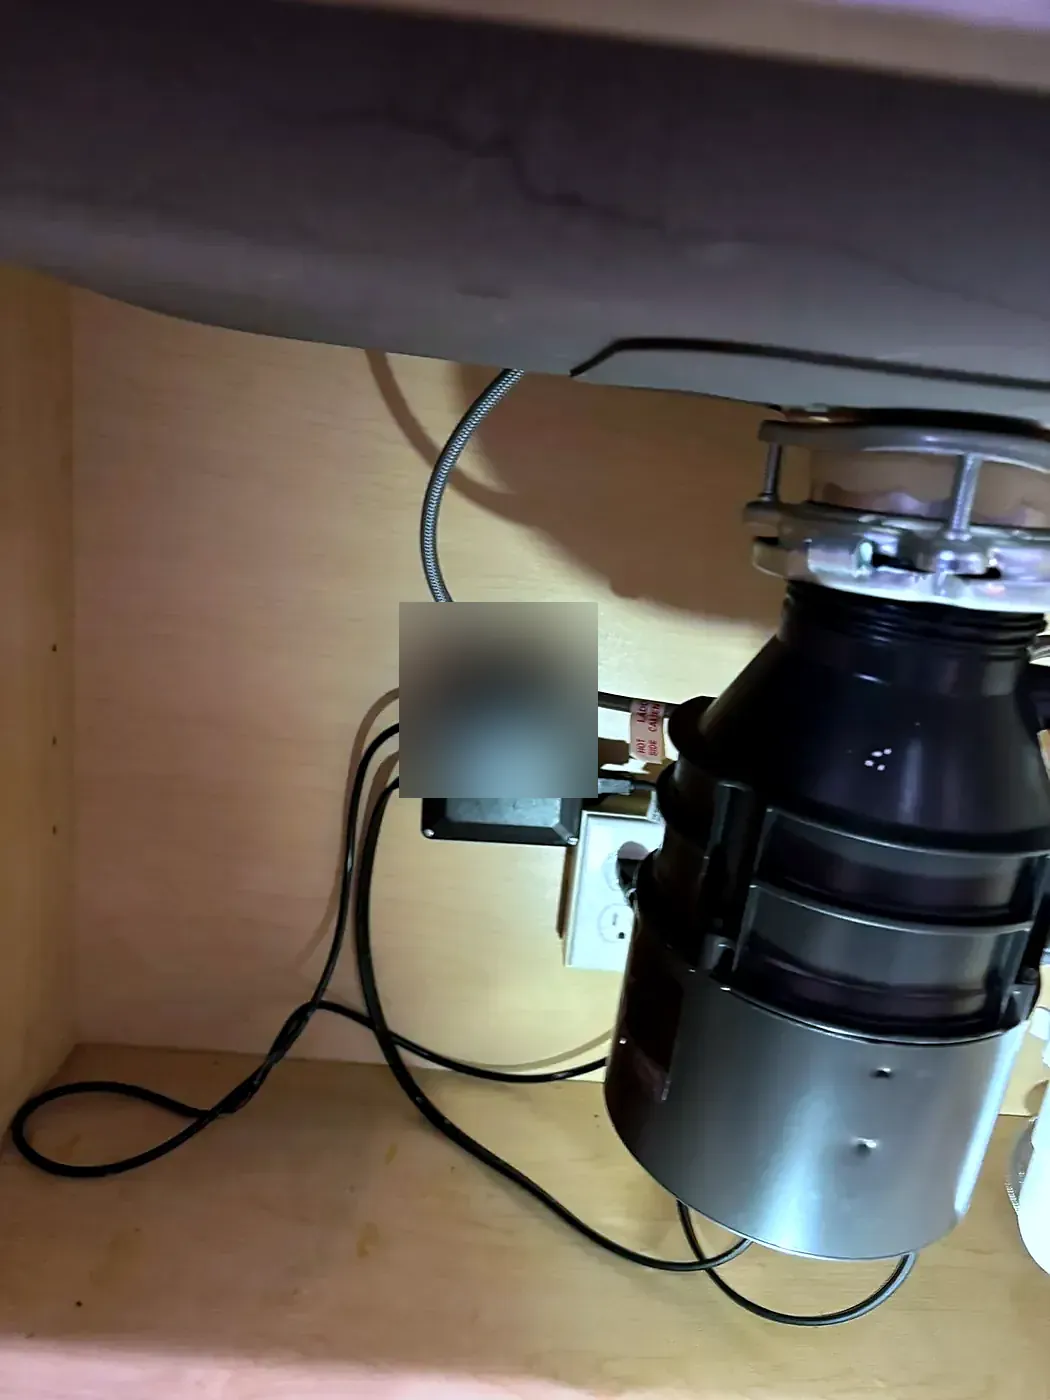
- The connection itself. A disposal has to be wired into a proper junction box. We have been called out specifically to correct one that was not.
We hold Virginia class A contractor classifications for plumbing, electrical and HVAC, so where a disposal problem turns out to be a circuit problem it does not become somebody else's appointment. Circuit faults of that kind are covered under wiring, circuits and troubleshooting.
The drain piping behind most garbage disposal problems
A great many disposal calls are really kitchen drain calls. The disposal is simply the thing at the top of a branch line that has been narrowing with grease for years, and when we cable those lines the cable comes back black.
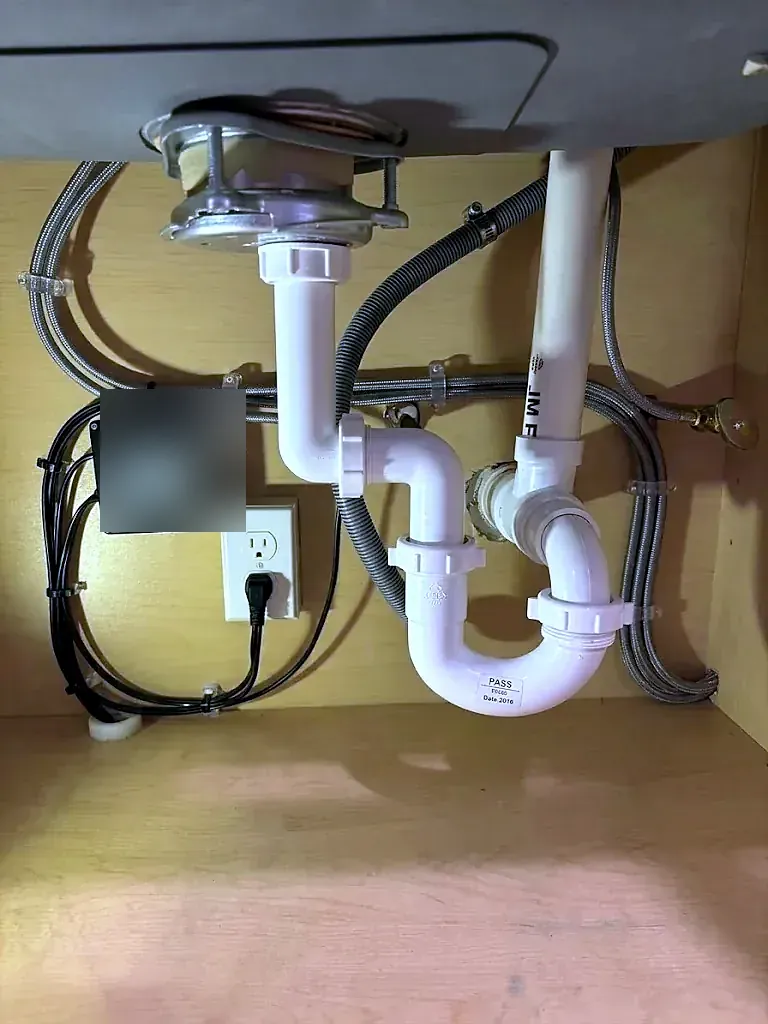
The arrangements we find underneath are the other half of it. Real examples from our job files: a two-inch pipe reduced to an inch and a half under the sink; two trap adapters in the same assembly; P-traps glued solid so they cannot be opened; a trap adapter facing upward with the drain dropping in size and picking back up again; PVC running into brass running into copper; a compression shut-off fitted to PVC pipe by a previous plumber instead of the correct fitting; a P-trap installed backwards; galvanized drain pipe scaled down internally; and, repeatedly, no cleanout anywhere on the line.
When we replace a disposal on a line like that, rebuilding the drain piping is part of the job rather than an upsell:
- The waste line cut back off the wall so there is clean pipe to work from, with a reducer set inside the wall where the sizes were wrong.
- A cleanout installed and positioned so the branch can be cabled directly next time.
- A slip-joint P-trap and trap adapter that can be opened — with two traps on a tee and a wye where a second bowl or a dishwasher shares the line, so the fixtures drain independently.
- A flanged tailpiece and threaded extension tailpiece sized to the sink, and a new basket strainer.
- The line snaked and treated before the cabinet is closed.
Venting matters too. On one call the piping under a sink had all the fixture lines tied together improperly and a failing air admittance vent doing the work of a proper vent. The wider drain side of this is covered under kitchen sink repair and drain cleaning.
Garbage disposal replacement: sizing, stock and what gets reused
A half-horsepower unit is what goes into most Northern Virginia kitchens and it is what we standardize on. Larger units go in where a household actually works one hard, or to match what was there. Availability is a real constraint rather than a sales matter — on one job the supply house had no one-horsepower unit in stock, so a three-quarter-horsepower unit was fitted instead and the customer was told why.
Where the existing basket strainer and mounting assembly are sound we reuse them, which keeps the sink undisturbed. Where the flange is corroded or the mount will not seat properly, it is replaced — a disposal hung on a tired mount leaks at the top within a year.
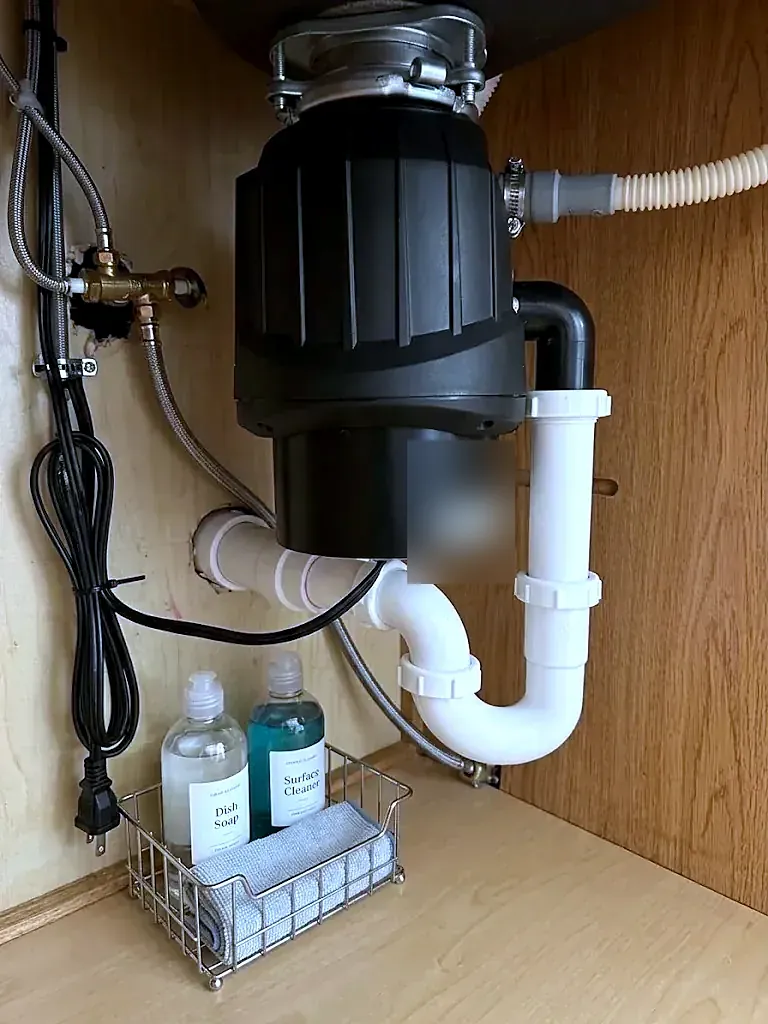
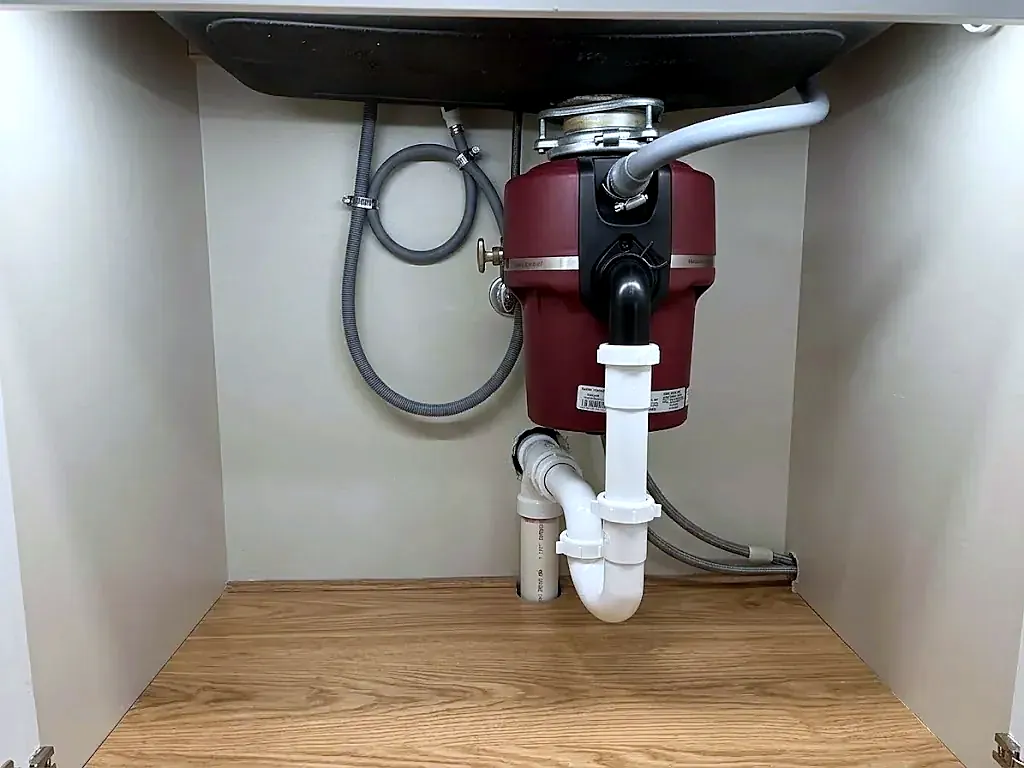
The new unit is set with the drain flange properly tightened, the discharge piped into a trap that can be opened, the dishwasher inlet connected or the port left blanked if there is no dishwasher, and the electrical connection made into a junction box. We run it under water before we leave. Where the dishwasher discharge is involved, its drain hose is looped high and anchored — see dishwasher installation and hook-up.
Installing a garbage disposal yourself — what we are called out to fix
Disposal boxes make the job look like four screws and a plug. The calls that follow are consistent enough to be worth listing.
One homeowner fitted his own disposal and then called about a leaking PVC drain pipe: he had glued the PVC where it should have been a slip joint and broken the rim of the P-trap doing it, and the disposal's drain flange had been left completely loose and was dripping. A whole-house valve check on that same visit found five more failing shut-off valves.
The recurring mistakes are the same handful: gluing joints that need to come apart, over- or under-tightening the mount, leaving the drain flange loose, forcing the discharge into a misaligned trap, knocking out the dishwasher plug when there is no dishwasher, wiring into a cord and an unbonded connection instead of a junction box, and putting a new unit onto a branch line that was already loaded with grease — which is why the sink backs up a week later.
What a garbage disposal repair or installation visit includes
- Establish the fault. Hum, silence or leak — each points somewhere different, and each takes minutes to separate.
- Attempt to release a jammed unit before recommending replacement, with the power isolated.
- Check the electrical side — reset, breaker, switch and receptacle — where the unit is dead rather than jammed.
- Inspect the drain piping, the trap, the cleanout and the dishwasher tie-in, and run the line to see whether the branch is loaded.
- Check the shut-off valves under the sink and at every other fixture, because the stops we find behind a disposal are very often leaking and hidden from view by the unit itself.
- Do the work, then run water through it and check every joint before the cabinet is closed up.
On one call the disposal had been blocking the view of a dual shut-off valve that had been leaking for a long time — it had no gasket left and was the wrong type for the position, with one handle where it needed two. That is the sort of thing a disposal-only visit never finds.
What garbage disposal repair costs, and how we price it
We do not quote disposal work by phone and we do not publish numbers. The unit is the predictable part; the piping under it is not. A cleanout that has to be cut into a wall, galvanized pipe that has to come out, a mount that will not reseat, a rotted cabinet base, a receptacle that needs an electrician, or a branch line that needs cabling twice all change the job, and none of them can be seen from the doorway.
An estimator comes to the property, looks at the unit and the piping serving it, and gives you a written price for the work in front of him before anything begins.