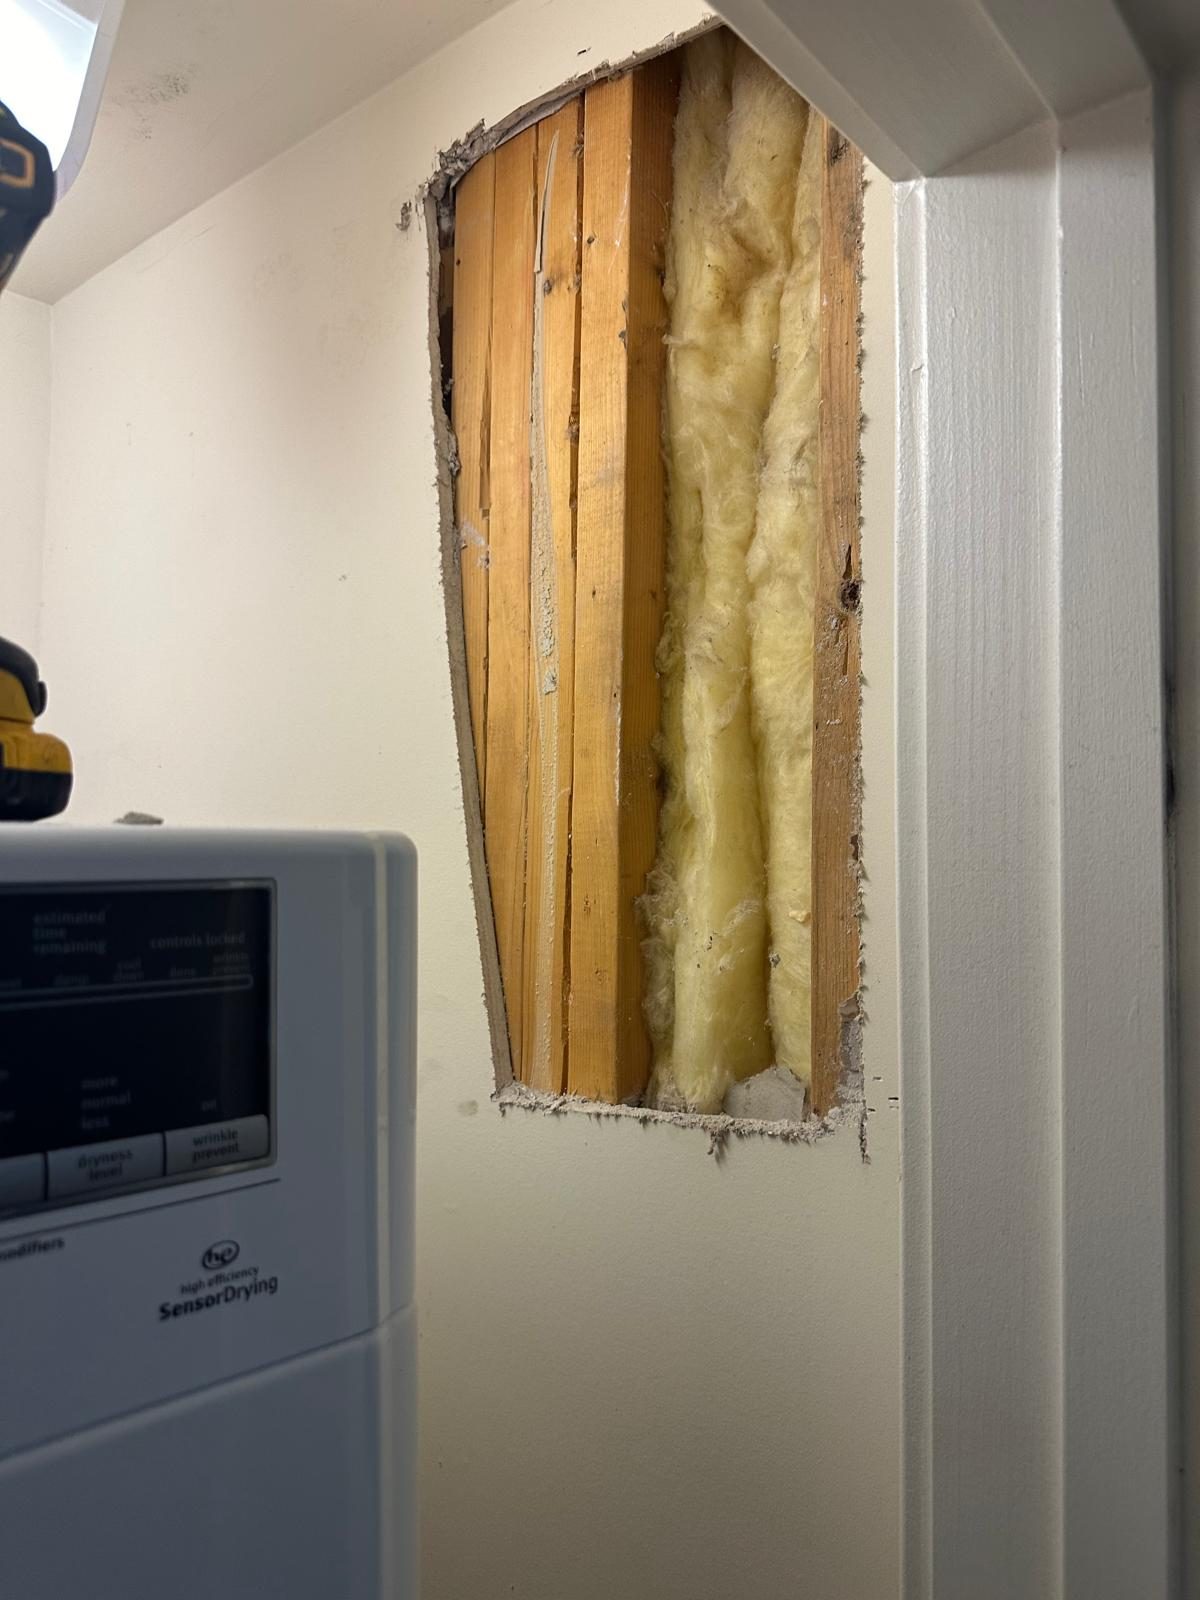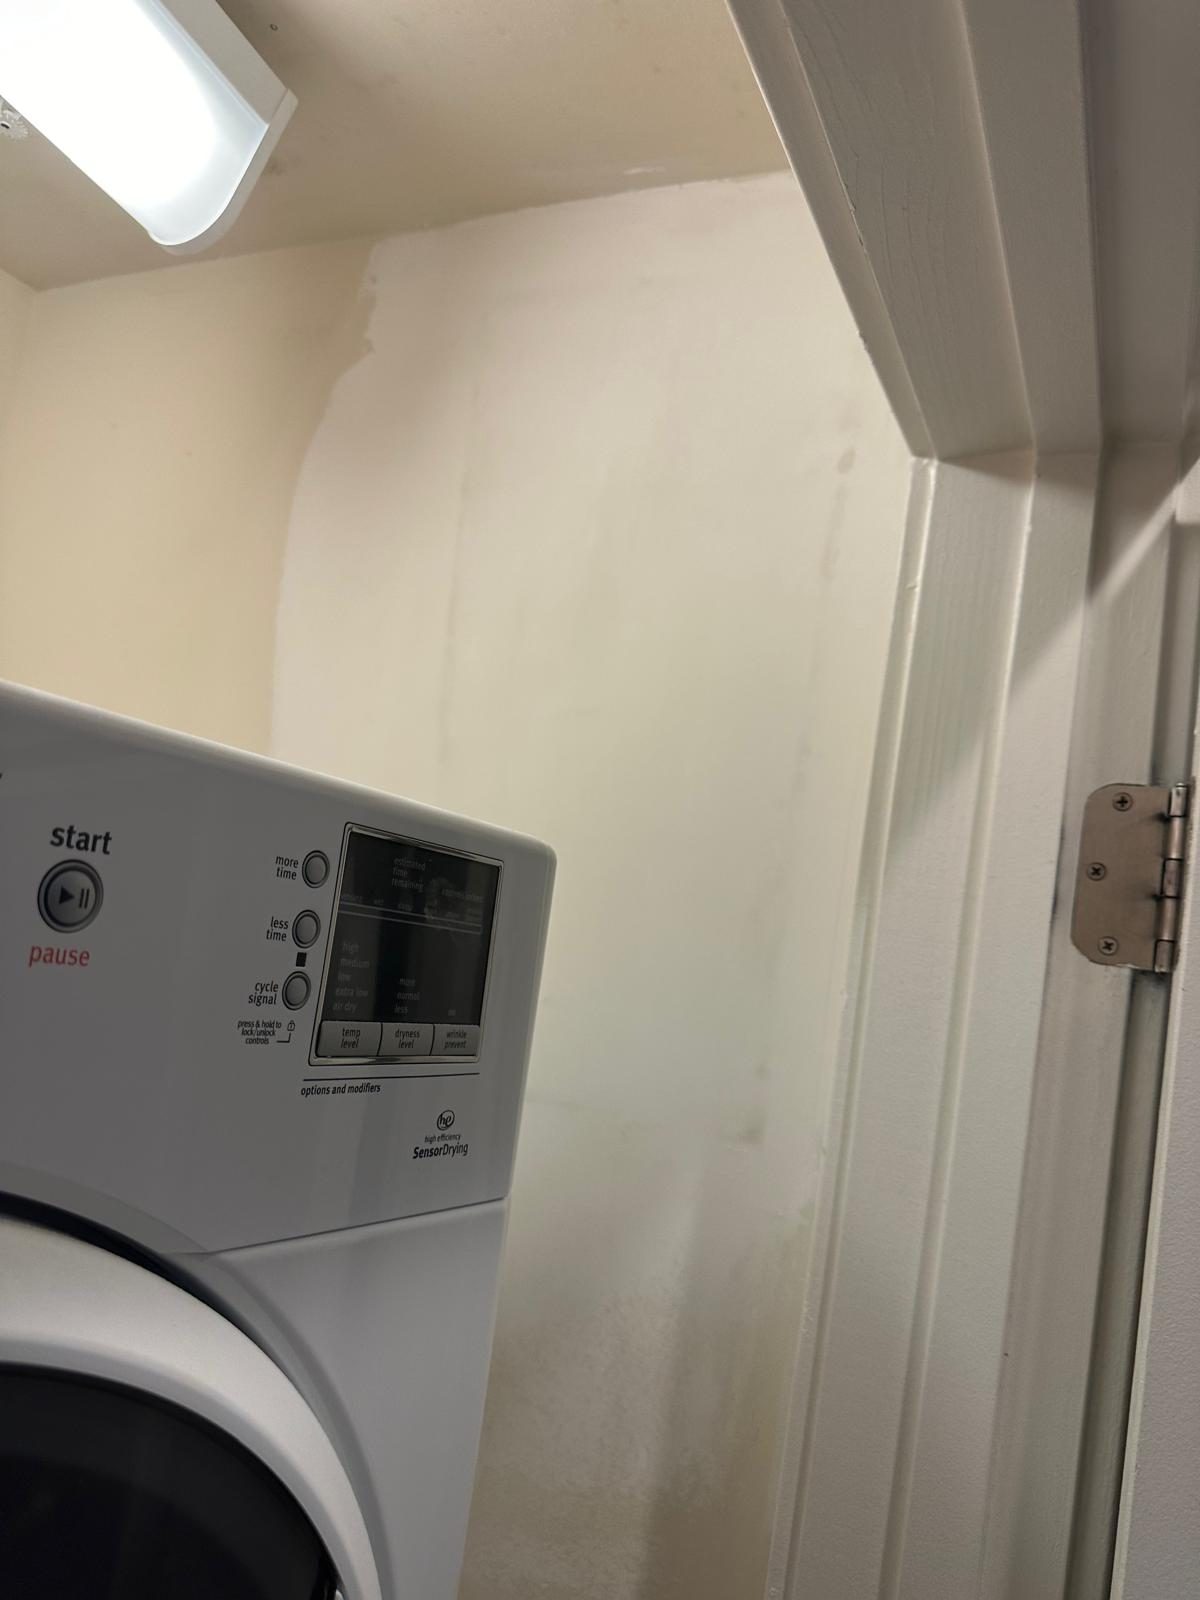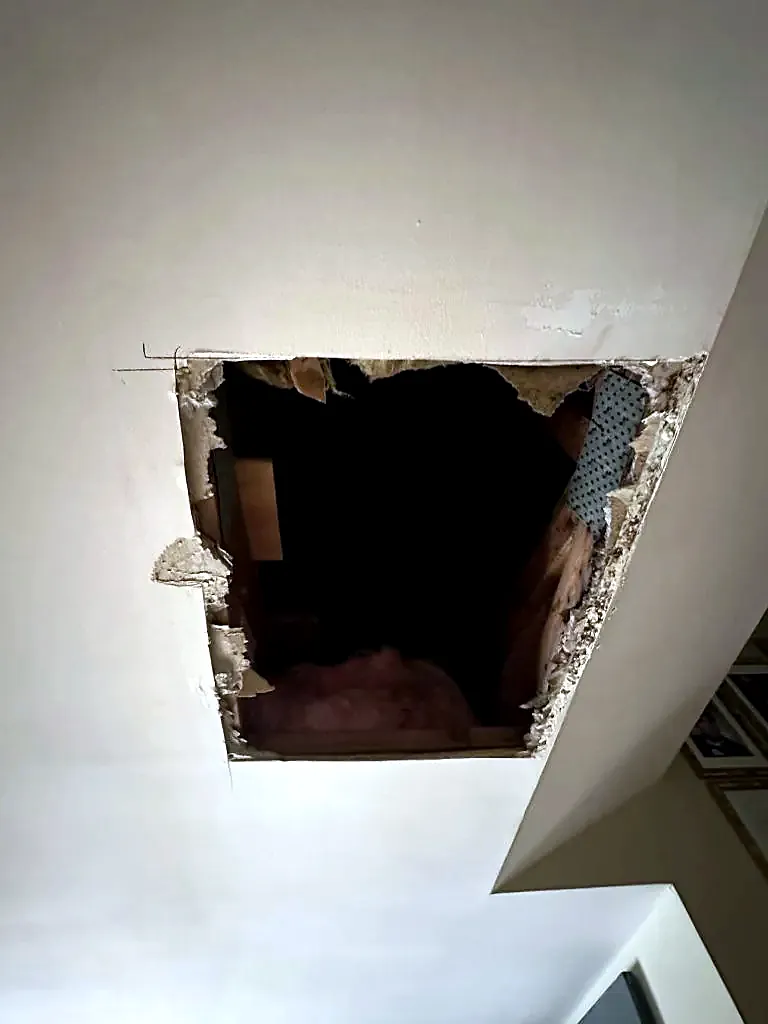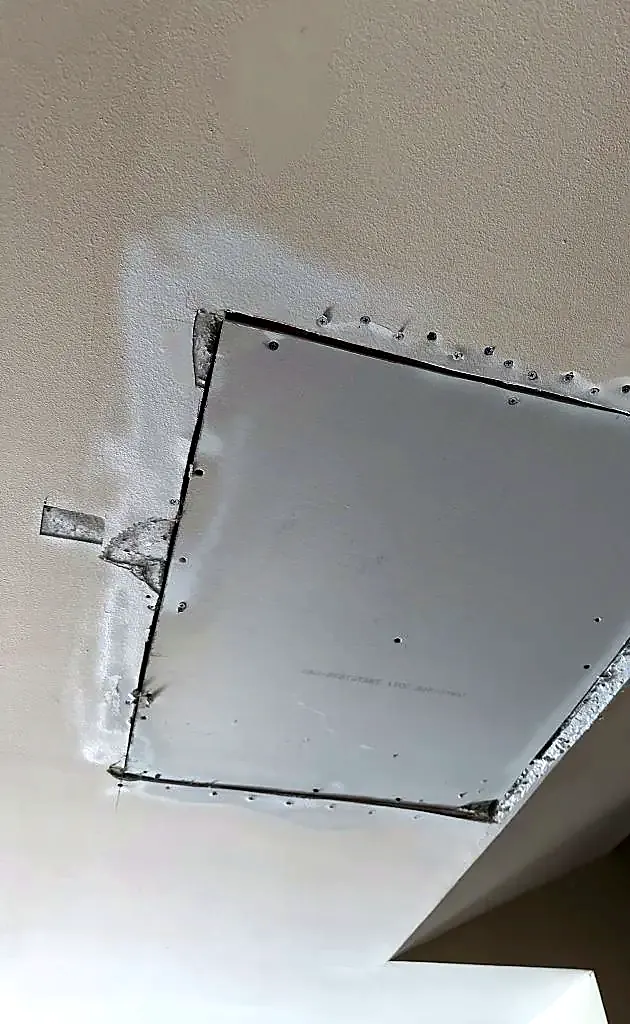
Most drywall repair calls begin with a stain on a ceiling, a soft patch of wall, or a hole. The patch itself is the easy part. What matters is what wet the board — a supply or drain leak, a failed shower pan, a roof or plumbing vent boot — because new drywall over an active leak fails again. We correct the source, cut out the damaged board, inspect the open cavity, treat and seal the framing, hang new half-inch drywall, then tape, block, skim and sand it flush.
Why a ceiling has a water stain
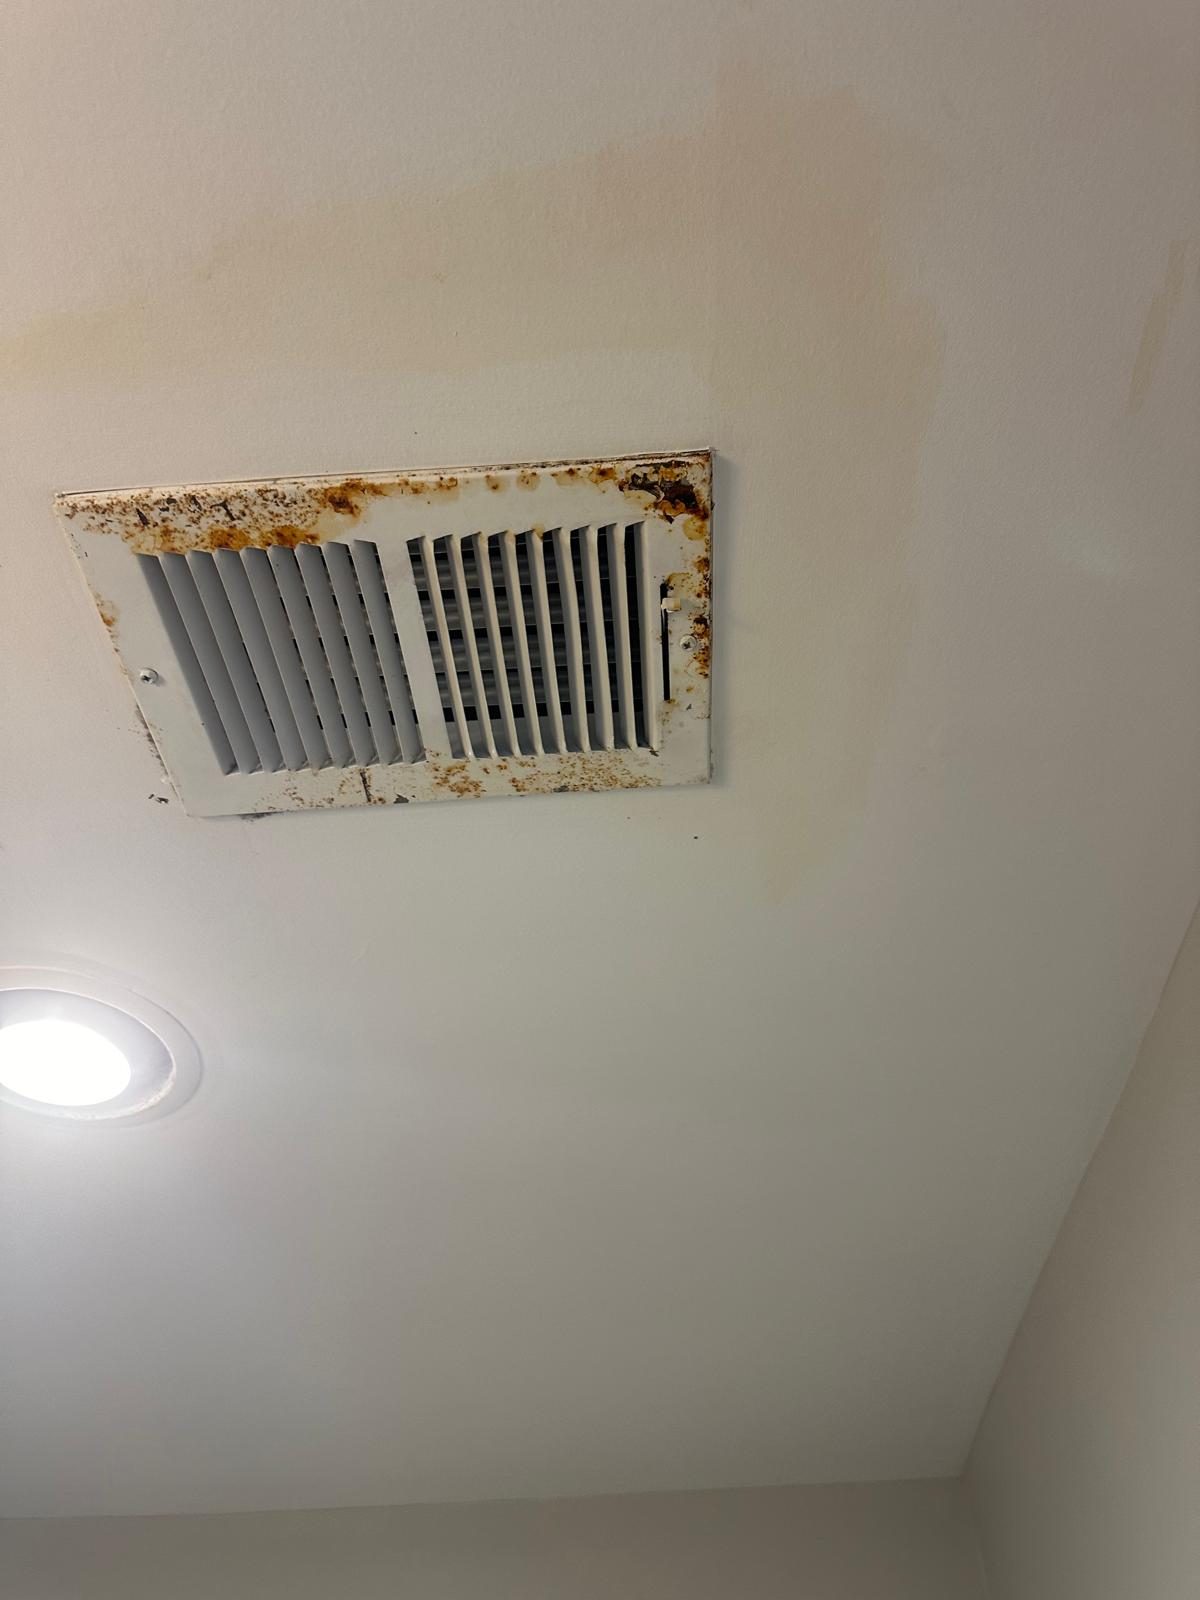
A brown ring means water sat in that cavity long enough to soak through the paper face of the board and carry the wood tannins with it. By the time it shows, it has been happening a while. These are the sources we trace it back to:
- A shower or tub directly above
- The most common one. On more than one job the ceiling below a shower had been wetted from the shower above, with water coming through the back of the shower wall rather than the pan. Failed grout or caulk lets water past the tile and into the cavity.
- A failed shower pan assembly
- Where a tiled shower floor sits on a membrane and a concrete pad, the whole assembly fails as a unit — membrane, pad and tile together. We have opened ceilings below exactly that, and the repair is a shower rebuild with a ceiling repair attached.
- A laundry room on the floor above
- Basement ceiling drywall damage traced up to a leak in the laundry room above is a recurring pattern. Washer supply lines, the drain box and the pan sit inside a floor cavity nobody looks at.
- A supply or drain pipe inside the wall or ceiling
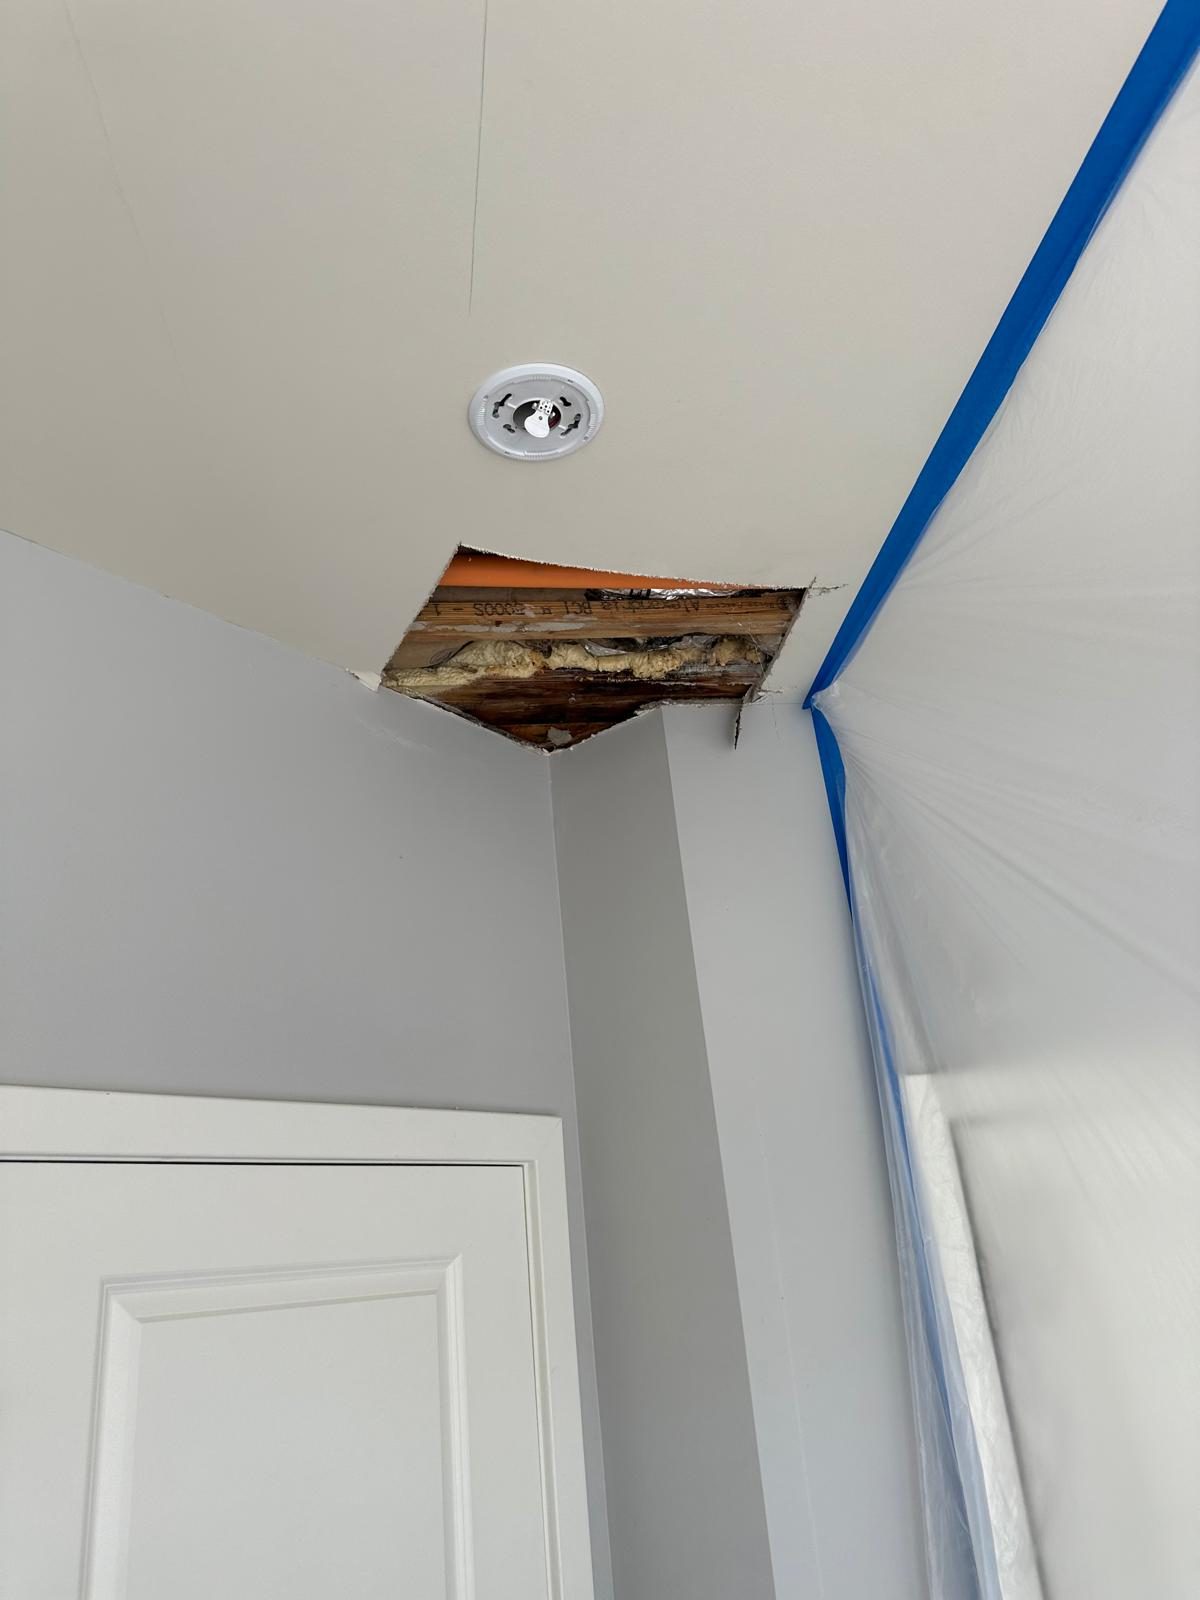
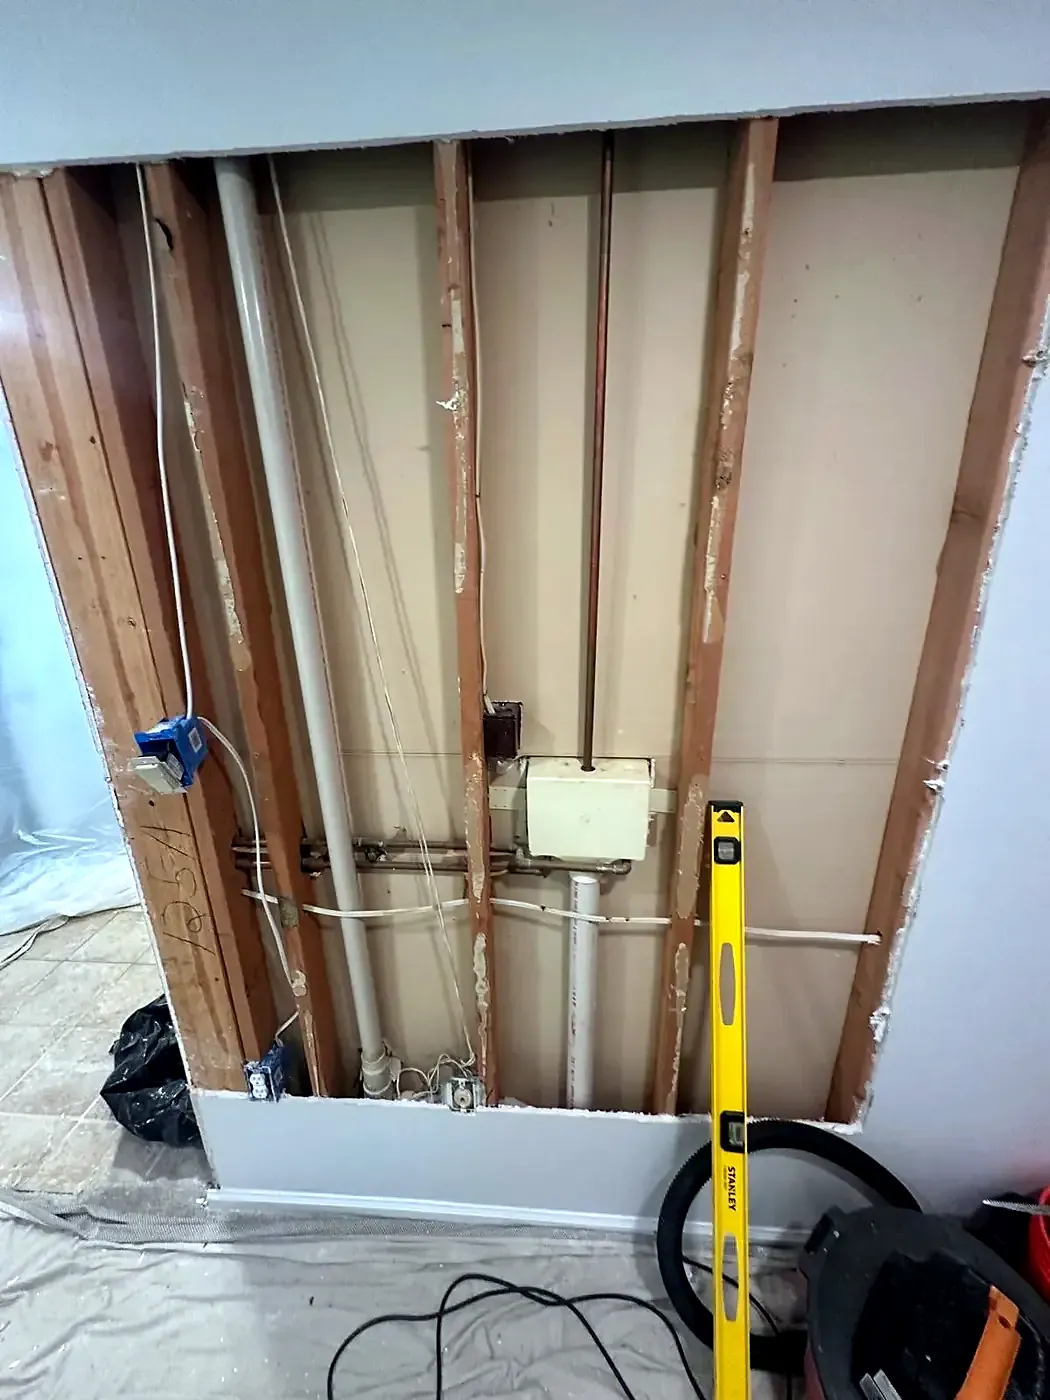
- After a pipe leak the damaged board comes out, leaving the pipes and the wall cavity exposed. That is the moment to look at the pipe itself — see pipe repair and leak detection.
- The roof, or a plumbing vent boot
- On one job the ceiling damage came from damaged shingles together with deteriorated two-inch plumbing vent pipe boots. Satellite and cable runs left holes in roof decking on another. A stain near an exterior wall or a chimney is a roof question before it is a drywall question — see roof leak and roof repair.
- Missing insulation and cold pipes
- One bathroom rebuild found insulation lost at the exterior wall and around the plumbing pipes. Cold surfaces in a humid cavity condense, and condensation stains drywall exactly the way a leak does.
Why finding the leak comes before the drywall repair
This is what separates a repair that holds from one you pay for twice. Drywall is the evidence, not the fault. If the board goes back up over a live leak, the stain returns, the joint compound softens, and the cavity stays wet the whole time.
It also matters because water does not stay where it started. One leak damaged drywall in four separate areas — an upstairs closet ceiling, a laundry room ceiling, a breakfast area ceiling and an upstairs bathroom wall. Another showed up in five: a hallway ceiling, a living room corner, a kitchen ceiling, a second-floor office and a bedroom closet. A third wet a dining room ceiling, two bedroom ceilings, a bedroom wall and two basement ceilings from one event.
We open enough to find the edge of the wet area, and we tell you what we find before we close anything up. If the source turns out to be a shower, a tub or a valve behind tile, that work is handled as shower leak repair and the drywall goes back afterwards, not before.
What a water-damaged ceiling repair involves, step by step
This is the sequence our contracts describe, and it does not change because a job is small:
- Containment first. Plastic tents are set to control dust, and furniture, flooring and electronics are covered with drop cloths. Drywall sanding travels, and it travels into electronics.
- Remove the damaged board and haul it away. Not scrape it, not seal over it. Wet gypsum has no structural value left and it holds the smell.
- Inspect the open cavity and report it. Joists, studs, insulation and subfloor are checked for cavity damage, mold and rot, and the homeowner is told what is there before anything is closed in.
- Apply mold control. Concrobium Mold Control goes on wherever there has been water, to eliminate and prevent mold, mildew and musty odors. On one job it went on the back of the shower wall as well as the ceiling below it.
- Seal the framing with stain-killer primer. Ceiling joists and wall studs are sealed against wood tannin bleed-through, which is what pushes a stain back through fresh paint months later.
- Put back what was lost. Insulation gets replaced — R-15 batts in exterior walls, heavier in a ceiling — and supply lines get sleeved where they run through the cavity.
- Hang new half-inch drywall, glued and screwed. Glue and screws together, not screws alone, which is what stops the fastener pops that show up a year later.
- Tape, block, skim and sand. Four stages, each drying before the next.
- Prime with a sealer and paint. Flat on walls and ceilings, semi-gloss on trim.
Where a wall has to be reframed, framing is done to the Virginia building code, and on anything structural to an engineer's specification.
Types of drywall damage we repair
Water damage is the headline, but most drywall work in our job files is not dramatic:
- Holes left by other trades. Patching holes left from electrical work is a standing line item for us, along with patching after wall speakers and their wire outlets come out, and after a vanity or pedestal sink is removed and the wall behind it turns out to be raw.
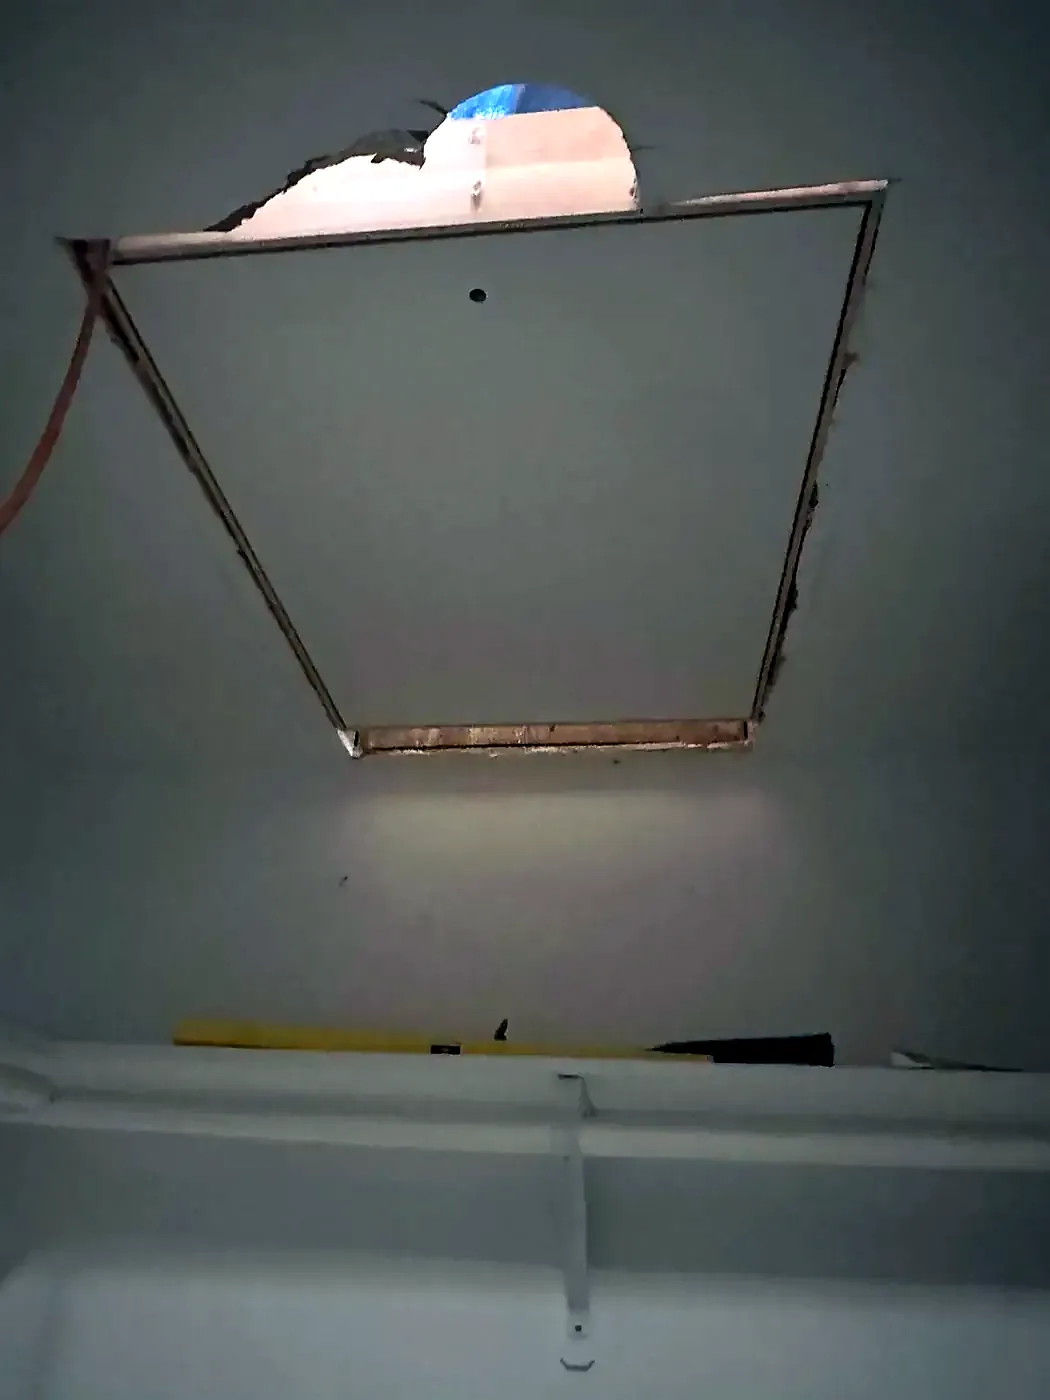
- Access holes. One ceiling had five holes opened in an upstairs hallway; all five were boarded in half-inch drywall and finished flush. Getting at a shower valve often means taking out one vertical row of wall tile and the board behind it.
- New openings that need framing, not just board. Cutting a twenty-two by thirty-one inch opening between trusses for pull-down attic stairs means new 2x6 pine framing braced to the trusses before any drywall goes near it.
- Paneling and drop ceilings. Converting a dated basement drop ceiling to drywall is a common request. The ceiling above gets checked and any loose wiring secured before the new board goes up. Old paneling comes off the same way, with the cavity inspected behind it.
- Impact damage. In one rebuild a vehicle struck the house and the drywall on ceilings and walls came out across a sunroom, the room above it and the basement below, along with all the insulation. A structural engineer inspected the walls, ceiling framing and floor sheathing and specified the repair before anything was rebuilt.
If a crack keeps coming back in the same place after a proper repair, it is usually not the drywall. See foundation, grading and crawl space repair.
How do you match texture on a drywall patch?
With an eye on the light. A patch is invisible when three things line up: the plane is flat, the feathered edge is wide enough that no shadow line catches on it, and the surface texture matches the wall around it.
Our finishing sequence is always tape, block, skim and sand, and on paint prep the same language shows up as point up, skim and sand ready for paint. The skim coat gives a patch a surface rather than a shape. Sanding removes the evidence. Neither is optional and neither is quick.
Where a wall or ceiling carries a heavy texture, there is a limit to how well a small patch blends. The answer we give at the estimate is that a plane which cannot be feathered in convincingly gets skimmed as a whole plane — corner to corner — so the finish is uniform in raking light, not only up close. That is a bigger job than a patch, and we say so before you agree to it.
Paint is part of the repair. A repaired ceiling is primed with a sealer and painted — see interior and exterior painting.
Why mold control and primer go on before new drywall
Two products do the unglamorous work on every water-damaged ceiling repair, and both go on while the cavity is open.
- Mold control on the cavity
- Concrobium Mold Control is applied wherever there has been water, to eliminate and prevent mold, mildew and musty odors. It goes on framing, subfloor and the back faces of adjoining surfaces. A musty smell with no visible stain is one reason we open a ceiling at all.
- Stain-killer primer on the framing
- Ceiling joists and wall studs are sealed with a stain-killer primer before the new board goes up. Wet lumber releases tannins long after it dries, and they travel through new drywall, joint compound and two coats of finish paint. Sealing the wood stops a stain reappearing on a ceiling you have already paid to repair.
- A sealer on the finished surface
- The repaired area is primed with a sealer before paint. On multi-area water damage jobs we prime all repaired areas, not only the ones that were stained, because a wet area is always wider than the mark it left.
None of this shows in the finished room. It is the difference between a ceiling that stays clean and one that ghosts a stain back in six months.
How long does drywall repair take, and how much dust?
Drywall is a multi-day job because it is a drying job. Tape, block, skim and sand are four stages, and compound has to cure between them. A small patch can be boarded and taped in one visit and finished on a second. A ceiling that has to be opened, dried, treated, insulated, boarded and finished takes longer.
On dust, our standard is containment before demolition, on every job:
- Plastic tents erected to isolate the work area from the rest of the house.
- Furniture, flooring and electronics covered with drop cloths and plastic sheets.
- Debris bagged and hauled away rather than stacked in the driveway.
- Sanding done inside the containment, with the tenting left up until it is finished.
Nobody can make drywall sanding produce no dust. What we can do is keep it inside one room, and that is what the tenting is for.
Do you need a permit for drywall and ceiling repair in Virginia?
A straightforward drywall repair — cutting out damaged board, treating the cavity, boarding, finishing and painting — is maintenance and does not require a permit.
Permits come into it when the job goes past the surface. Removing or relocating a wall, framing a new opening, adding or moving electrical circuits, reworking plumbing in the wall, or rebuilding structure after damage are all permitted operations here. When a permit is required we pull and process it ourselves, the work is performed according to the Virginia building code, and the job is not closed out until it passes final inspection.
It also matters who else has been in the cavity. Where a drop ceiling comes out and loose wiring is found above it, that wiring is secured before the new ceiling goes up. Where insulation was missing, it is replaced to current values rather than stuffed back — see insulation and air sealing.
What drywall and ceiling repair costs
We do not quote drywall repair by phone and we do not publish prices. Two ceiling stains that look the same from the floor can be an hour apart or a week apart: a dry historic mark, a live supply leak, a failed shower pan, wet insulation across four joist bays, or framing that needs an engineer before anyone touches it.
An estimator comes to the property, looks at the damage, and gives you a written price before anything starts. Where the extent cannot be known until the board is open — normal on water damage — the contract says so plainly, and anything found behind it is reported to you and agreed before it is done.
Sam & Sons Services has done this work in Northern Virginia since 1999, and handyman repair work is offered in Washington DC as well. Licensed in Virginia, DPOR #2705070610. Call (703) 256-8080.